Featured image for how to print luggage tags for norwegian cruise line
Image source: i.etsystatic.com
Printing your Norwegian Cruise Line 2026 luggage tags is quick and easy—just log in to your NCL account, navigate to the “Manage My Reservation” section, and select “Print Luggage Tags.” Ensure your printer is ready and use standard 8.5″ x 11″ paper for crisp, scannable tags that meet the cruise line’s requirements. Double-check your sailing details before printing to avoid last-minute hassles at the port.
How to Print Luggage Tags for Norwegian Cruise Line 2026
Key Takeaways
- Check email early: Locate your Norwegian Cruise Line luggage tag PDF sent before departure.
- Use a color printer: Print tags in color for accurate barcode and logo visibility.
- Print two copies: Attach one to each side of your luggage for easy scanning.
- Laminate for durability: Protect tags from water and handling during travel.
- Verify tag details: Confirm name, ship, and stateroom match your booking.
- Attach securely: Use a plastic tag holder or zip tie to prevent loss.
Why This Matters / Understanding the Problem
Planning a cruise with Norwegian Cruise Line (NCL) in 2026? One of the smartest moves you can make before boarding is learning how to print luggage tags for Norwegian Cruise Line 2026. These tags are your golden ticket to a smooth embarkation—no more lost bags, no more confusion at the port, and definitely no last-minute stress trying to find your cabin number.
Many first-time cruisers assume the cruise line will hand out tags at the port. But here’s the catch: NCL requires you to print your own luggage tags in advance. If you skip this step, you’ll face delays, extra fees, or even have your bags held until they’re properly labeled. That’s a vacation mood-killer.
By printing your tags early, you’re not just following rules—you’re taking control. You’ll know exactly where your bags go, avoid mix-ups with similar-looking suitcases, and breeze through check-in like a seasoned traveler. Whether you’re sailing the Caribbean, Alaska, or the Mediterranean, mastering how to print luggage tags for Norwegian Cruise Line 2026 is a small step that makes a huge difference.
And don’t worry—this isn’t some complicated tech puzzle. With the right tools and a few minutes, anyone can do it. No special skills, no printer drama (usually), and definitely no need to pay third-party services. Let’s get you prepped and ready to sail stress-free.
What You Need
Before we dive into the steps, let’s gather everything you’ll need. The good news? Most of this is already on your desk or in your pocket.
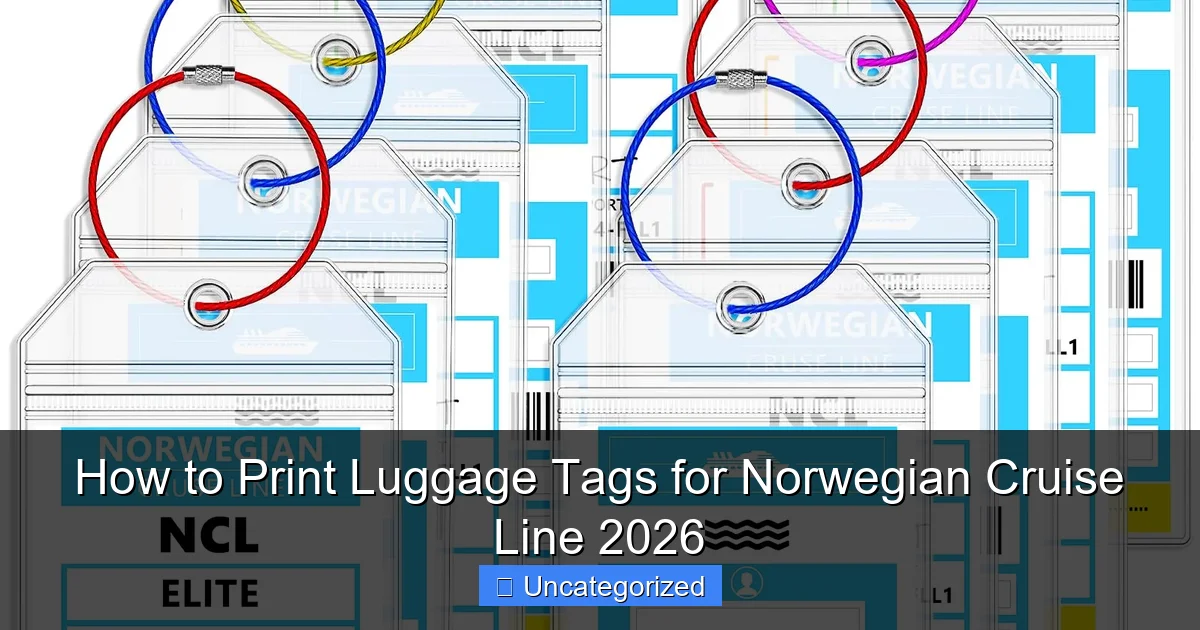
Visual guide about how to print luggage tags for norwegian cruise line
Image source: m.media-amazon.com
- Your NCL Cruise Booking Details: You’ll need your reservation number, last name, and the names of all passengers in your party. This info is in your confirmation email or online account.
- Access to the Norwegian Cruise Line Website: Specifically, the Manage My Reservation portal. Bookmark it—you’ll use it often.
- A Working Printer: Any standard inkjet or laser printer will do. Make sure it has paper and ink. Pro tip: Test it first!
- Plain White Paper or Luggage Tag Paper: Regular printer paper (8.5 x 11 inches) works fine. For a more durable tag, use waterproof luggage tag sheets (available online or at office supply stores).
- Scissors or a Paper Cutter: To neatly cut out each tag.
- Luggage Tag Straps or Zip Ties: NCL doesn’t provide these, so bring your own. Clear plastic straps are best—they’re reusable and easy to attach.
- Smartphone or Tablet (Optional): Handy for scanning QR codes on the tags or keeping a digital backup.
Once you’ve got these, you’re ready to tackle how to print luggage tags for Norwegian Cruise Line 2026 like a pro. No fancy tools, no guesswork—just a few minutes of your time.
Step-by-Step Guide to How to Print Luggage Tags for Norwegian Cruise Line 2026
Step 1: Log Into Your NCL Account and Access Your Reservation
Go to the official Norwegian Cruise Line website (www.ncl.com) and click on Manage My Reservation at the top. You’ll need to enter your booking number (found in your confirmation email) and your last name.
Once logged in, you’ll land on your reservation dashboard. Look for a section labeled Luggage Tags or Pre-Cruise Check-In. This is where the magic happens. If you don’t see it right away, scroll down—it’s often under “Important Documents” or “Embarkation Details.”
⚠️ Warning: Don’t wait until the last 24 hours. NCL typically opens luggage tag access 30–60 days before departure. If it’s not available yet, check back weekly. Printing too early can lead to outdated info if your cabin changes.
Step 2: Review Your Cabin and Passenger Information
Before printing, double-check every detail. The system will display:
- Your cabin number and deck
- Each passenger’s full name
- Your embarkation port and date
- Your stateroom category
Why does this matter? Because if your cabin gets upgraded or reassigned (common with NCL’s “Free at Sea” promotions), the tag will still show the original room. That could mean your bags go to the wrong deck. So, if anything looks off, contact NCL support before printing.
Also, ensure all names match your ID exactly. Misspelled names can cause delays at check-in. For example, “Robert” vs. “Rob” might confuse the baggage team.
Step 3: Download the Luggage Tag PDF
Click the Print Luggage Tags button. NCL will generate a PDF with one tag per passenger, plus extras (usually 1–2 extra tags per bag). The file will include:
- QR code (scannable by NCL staff)
- Barcode (for automated sorting)
- Your cabin number, deck, and embarkation info
- Passenger name and reservation number
Save the PDF to your desktop or cloud drive. Name it something clear, like “NCL_2026_Luggage_Tags_YourLastName.pdf.” This helps avoid confusion later.
💡 Pro Tip: Print a test page first. Check that the QR code and barcode are sharp and unbroken. Blurry codes can’t be scanned, forcing manual entry—slowing down the whole process.
Step 4: Print the Tags (On the Right Paper!)
Open the PDF and hit Print. Here’s where many people go wrong:
- Use plain white paper if you’re in a pinch. It works, but it’s not durable.
- For better results, use waterproof luggage tag paper. These are pre-cut, tear-resistant, and often have adhesive backs. Brands like Avery or Neenah make great options.
- Set your printer to High Quality or Best mode. Avoid “Draft” or “Eco” settings—they can blur the barcode.
Print on both sides? NCL tags are one-sided. No need to waste ink on the back.
⚠️ Warning: Don’t use colored paper, glitter, or decorative sheets. The barcode and QR code must be on a light, plain background. Dark or patterned paper blocks scanners.
Step 5: Cut Out the Tags Carefully
Each tag is about 4 x 6 inches. Use scissors or a paper cutter for clean edges. Ragged cuts can snag on conveyor belts or tear during handling.
If you used standard paper, consider laminating each tag. A quick trip through a laminator adds water resistance and durability. Or, use clear packing tape on both sides (but avoid covering the barcode).
For waterproof tag sheets, just punch a hole in the corner (they usually have pre-perforated holes).
Step 6: Attach Tags to Your Luggage
This is critical: how you attach the tag matters.
- Use clear plastic luggage straps (available at Target, Amazon, or travel stores). Loop the strap through the tag’s hole and secure it around the handle.
- Alternatively, use zip ties. They’re cheap, strong, and won’t come loose. Just snip the end after tightening.
- Never tape the tag directly to the bag. Tape can peel off, especially in rain or rough handling.
Attach one tag per bag. NCL allows 2 bags per passenger, so print 2 tags per person. If you’re bringing a carry-on, skip the tag—it’s not required.
💡 Pro Tip: Add a second tag inside your suitcase. Tuck a printed copy in a zippered pocket. If the external tag gets damaged, this backup helps NCL return your bag if it gets misplaced.
Step 7: Verify Before You Go
24 hours before your cruise, do a final check:
- Are all tags securely attached?
- Can you scan the QR code with your phone? (Open your camera app—most phones can read QR codes.)
- Did you pack your backup tags?
- Are your bags within NCL’s size limits? (Max 22 x 14 x 9 inches per bag, including wheels and handles.)
If anything’s off, fix it now. It’s much easier than explaining at the port.
Pro Tips & Common Mistakes to Avoid
Even with clear steps, things can go sideways. Here’s how to stay ahead of the curve.
Pro Tip 1: Print Extra Tags (and Keep Them Digital)
NCL includes 1–2 extra tags per passenger for a reason. Use them if:
- Your bag gets damaged in transit and you need to replace it last-minute.
- You decide to check an additional bag at the port (for a fee).
- The original tag gets torn or soaked.
Also, save the PDF on your phone. If you lose the printed tags, you can reprint them at a hotel business center or library.
Pro Tip 2: Label All Bags—Even Small Ones
Some travelers only tag large suitcases. Big mistake. Small bags (like duffels or backpacks) often get mixed up. Print a tag for every checked bag, no matter the size.
Pro Tip 3: Use Color-Coded Straps
Got family or friends traveling together? Assign each person a color (e.g., blue for Mom, red for Dad). It’s easier to spot your bags on the carousel and prevents mix-ups.
Common Mistake 1: Waiting Too Long
Don’t print tags 2 hours before check-in. Technical issues happen. Printers jam. Files get corrupted. Aim to print at least 3 days before departure. This gives you time to troubleshoot.
Common Mistake 2: Ignoring Cabin Changes
NCL often upgrades cabins for loyalty members or during promotions. If your cabin changes after printing, reprint the tags. Old tags send your bags to the wrong deck.
Common Mistake 3: Using the Wrong Printer Settings
Low-quality prints = unreadable barcodes. Always use “Best” mode. If your printer has a “Photo” setting, use that—it gives the sharpest output.
Common Mistake 4: Skipping the Backup
Imagine this: You arrive at the port, and your tag is soaked from rain. No backup? Your bag might be delayed by hours. Always pack a printed spare in your carry-on.
Pro Tip 4: Test Your Tags with a QR Scanner
Download a free QR scanner app (like QR & Barcode Scanner). Scan your tag to ensure it pulls up the correct info. If it doesn’t, reprint it.
FAQs About How to Print Luggage Tags for Norwegian Cruise Line 2026
Q1: Can I print luggage tags at the port?
Technically, yes—but it’s risky. NCL has a kiosk at most ports for last-minute tags. However, lines are long, printers jam, and staff may charge a fee. Save time and stress by printing at home. How to print luggage tags for Norwegian Cruise Line 2026 is easiest when done early.
Q2: What if I don’t have a printer?
No problem! Options include:
- Use a hotel business center (common in major cities).
- Visit a library or UPS Store (they offer printing services).
- Ask a friend or family member to print for you.
- Use NCL’s mobile app to show the tag on your phone at check-in (only accepted at select ports).
Q3: Are the tags waterproof?
The printed tags aren’t waterproof by default. If you use regular paper, laminate them or cover with clear tape. For best results, use waterproof luggage tag sheets (sold online).
Q4: Can I edit the tag after printing?
No. The tags are auto-generated by NCL’s system. If you need changes (e.g., cabin upgrade), log back into your account and reprint. Never handwrite on the tag—it can void the barcode.
Q5: How many tags do I need?
One per checked bag. NCL allows 2 bags per passenger, so print 2 tags per person. If you have a large family, print extras to cover all bags. The system lets you print up to 10 tags per reservation.
Q6: What if my tag gets damaged?
No panic! If the barcode is still readable, NCL staff can scan it. If not, they’ll enter the info manually using your reservation number. Still, always pack a backup tag in your carry-on.
Q7: Can I use third-party luggage tags?
No. NCL’s tags include unique barcodes and QR codes tied to your reservation. Regular tags won’t work for automated sorting. Stick to the official ones.
Final Thoughts
Learning how to print luggage tags for Norwegian Cruise Line 2026 isn’t just a box to check—it’s your first step toward a seamless, stress-free vacation. A few minutes of prep now saves hours of hassle at the port. You’ll avoid delays, keep your bags safe, and start your cruise with confidence.
Remember: Print early, double-check your details, use quality paper, and attach tags securely. Keep backups, test your QR codes, and don’t ignore cabin changes. These small actions make a big difference.
And when you’re sipping a cocktail on deck, watching the sunset, you’ll be glad you took the time. Because the best cruises begin before you board—with smart planning and a little know-how.
So, what are you waiting for? Log in, print those tags, and get ready to sail into your 2026 adventure. Bon voyage!