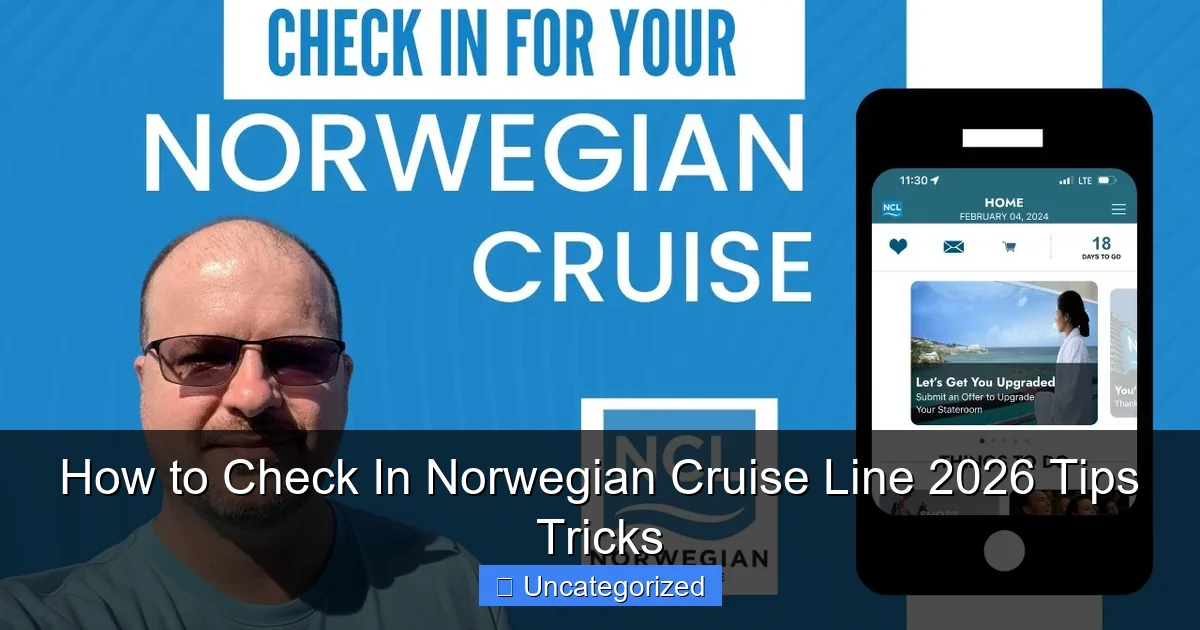
Featured image for how to check in norwegian cruise line
Image source: i.ytimg.com
Complete your Norwegian Cruise Line check-in online 24–72 hours before departure to save time and avoid long lines at the terminal. Use the NCL app or website to upload documents, select arrival times, and add excursions—ensuring a smooth, stress-free embarkation day.
“`html
How to Check In Norwegian Cruise Line 2026: Tips & Tricks
Key Takeaways
- Book early: Secure preferred check-in times by reserving online early.
- Download the app: Use the Norwegian Cruise Line app for seamless check-in.
- Upload docs ahead: Submit ID and travel documents online to save time.
- Arrive on time: Stick to your assigned check-in window to avoid delays.
- Pack smart: Keep essentials in carry-on for immediate access post-check-in.
- Check luggage rules: Know size/weight limits to prevent boarding issues.
Why This Matters / Understanding the Problem
Imagine arriving at the port, excited for your dream vacation, only to face long lines, confusion, and delays because you didn’t check in properly. That’s why knowing how to check in Norwegian Cruise Line 2026 tips tricks is essential for a smooth start to your cruise.
Checking in online isn’t just a formality—it’s your ticket to skipping the crowds, securing cabin preferences, and ensuring your documents are in order. Whether you’re a first-time cruiser or a seasoned traveler, the process has changed over the years, and the 2026 guidelines bring new updates to streamline the experience.
With digital check-in, health forms, and real-time updates, the how to check in Norwegian Cruise Line 2026 tips tricks will help you avoid stress, save time, and get onboard faster. Let’s make your embarkation day as enjoyable as the vacation itself.
What You Need
Before diving into the steps, gather these essentials. Being prepared makes the process quick and painless.

Visual guide about how to check in norwegian cruise line
Image source: thumbs.dreamstime.com
- NCL Account: Create one at ncl.com if you don’t have one. You’ll need it to access your booking and check-in portal.
- Booking Confirmation Number: Found in your confirmation email or NCL app.
- Passport or Travel Documents: Must be valid for at least 6 months beyond your return date.
- Photo ID: Government-issued ID (driver’s license, national ID).
- Health Forms: Some itineraries require vaccination records or health declarations (check NCL’s current requirements).
- Smartphone or Computer: For online check-in and document uploads.
- Printer: To print your boarding pass and luggage tags (optional but recommended).
- NCL Mobile App: Download it from the App Store or Google Play—it’s a game-changer for real-time updates.
Pro tip: Have all documents ready in digital format (PDF or JPEG) to upload during check-in. This avoids last-minute scrambling.
Step-by-Step Guide to How to Check In Norwegian Cruise Line 2026 Tips Tricks
Follow these steps to breeze through your NCL check-in. The process is designed to be user-friendly, but timing and attention to detail matter.
Step 1: Create or Log Into Your NCL Account
Go to ncl.com and click “Manage My Reservation” or “My NCL.” If you don’t have an account, sign up using your email and booking details.
Once logged in, locate your upcoming cruise under “My Trips.” Click “Check In” to begin. This is where the how to check in Norwegian Cruise Line 2026 tips tricks start to pay off—early access means fewer glitches.
Tip: Bookmark the NCL check-in page and save your login info. You’ll access it multiple times before sailing.
Step 2: Enter Your Booking Details
Input your confirmation number and the last name on the reservation. Double-check for typos—errors can delay the process.
After entering, review your cruise details: ship, itinerary, departure date, and cabin assignment. If something’s wrong, contact NCL support before proceeding.
Warning: If your booking is under someone else’s name (e.g., a gift cruise), you may need to link your account or request access from the primary guest.
Step 3: Complete Guest Information
Fill in personal details for each traveler: full name, date of birth, nationality, passport number, and emergency contact.
Double-check spellings and dates—this info is used for boarding and customs. Mistakes can lead to denied boarding or delays.
Pro tip: Use your passport name exactly as printed. No nicknames or abbreviations.
Step 4: Upload Required Documents
Upload scanned copies of:
- Passport (main page with photo and info)
- Photo ID
- Health forms (if required—check NCL’s “Travel Requirements” page for your itinerary)
Files must be clear and legible. Use PDF or JPEG format. If you’re traveling with a non-passport document (e.g., birth certificate for domestic cruises), upload that instead.
Tip: Take photos in good lighting and crop to the document edges. Avoid glare or shadows.
Step 5: Choose Your Embarkation Time (E-Time)
NCL assigns a boarding window called an E-Time (Embarkation Time). You can often select your preferred time slot during check-in.
Slots fill up fast—aim for early morning (8–10 AM) to avoid peak crowds. Late arrivals (after 2 PM) may face delays due to cabin cleaning.
Warning: Don’t show up early—you won’t be allowed in before your E-Time. But don’t be late either—missed E-Times may result in boarding at the end of the line.
Step 6: Add Special Requests
Use this section to request:
- Dietary needs (vegan, gluten-free, allergies)
- Accessibility accommodations (wheelchair access, hearing aids)
- Family cabin preferences (connecting rooms, near elevators)
While not guaranteed, NCL tries to accommodate requests. The earlier you ask, the better.
Pro tip: Mention allergies in both the special requests and health form—this alerts dining and medical staff.
Step 7: Review & Submit
Go through every section carefully. Confirm all names, documents, and E-Time selections.
Click “Submit Check-In” when ready. You’ll receive a confirmation email with a QR code and boarding pass.
Tip: Take a screenshot of the confirmation page. Save it to your phone’s gallery for easy access at the port.
Step 8: Print or Save Boarding Documents
Print your boarding pass and luggage tags. Attach the tags to your bags before leaving for the port—this speeds up baggage handling.
If you prefer digital, save the boarding pass PDF to your phone or email. Show the QR code at the port for scanning.
Warning: Don’t lose your boarding pass! It’s required for cabin access and excursions.
Step 9: Use the NCL App for Real-Time Updates
Download the NCL Mobile App and log in with your account. It shows:
- Your E-Time and boarding status
- Port arrival instructions
- Weather updates
- Onboard activities and dining reservations
The app also sends push notifications—turn them on so you don’t miss alerts.
Pro tip: Use the app’s “My Cruise” tab to track your check-in progress and view your digital boarding pass.
Step 10: Prepare for Port Arrival
On embarkation day:
- Arrive during your E-Time window
- Bring printed boarding pass, ID, and passport
- Have your luggage tags attached
- Pack a carry-on with essentials (meds, swimwear, phone charger)
At the terminal, follow signs to the NCL check-in area. Staff will scan your QR code and guide you through security.
Tip: Wear comfortable shoes and bring water—lines can be long, even with online check-in.
Pro Tips & Common Mistakes to Avoid
Even with the best prep, things can go sideways. Here’s how to stay ahead.
Start Early—Don’t Wait Until the Last Day
NCL allows check-in as early as 30 days before sailing. The earlier you start, the more flexibility you have.
Last-minute check-ins often face system overloads or missing documents. Plus, early birds get first pick of E-Times.
Pro tip: Set a calendar reminder for 30 days before your cruise to begin check-in.
Double-Check Document Validity
Passports must be valid for 6 months after your return date. Some countries require extra validity for entry.
For U.S. citizens on closed-loop cruises (U.S. to U.S. with no foreign ports), a birth certificate + photo ID may suffice—but check NCL’s rules.
Warning: Expired documents are the #1 cause of denied boarding. Renew early if needed.
Use High-Quality Document Scans
Blurry or incomplete scans may require re-uploading at the port. This adds time and stress.
Use a scanning app (like Adobe Scan or Microsoft Lens) for crisp, professional-quality files.
Tip: Save scans to a dedicated folder on your phone or cloud storage.
Don’t Skip the Health Forms
Even if you think they’re optional, health forms are often mandatory. NCL may require:
- Vaccination records (e.g., COVID-19, flu)
- Health questionnaires (e.g., recent illness, contact with sick individuals)
Check the “Travel Requirements” page for your itinerary. Forms are usually due 72 hours before sailing.
Pro tip: Upload health docs during the initial check-in—don’t wait for reminders.
Verify Your Cabin Assignment
Your cabin number is assigned after check-in. If you have preferences, request them early.
Note: Cabins near elevators or stairs may be noisy. Lower decks are more stable in rough seas.
Warning: Don’t assume you’ll get a specific cabin. NCL reserves the right to reassign for operational reasons.
Know the Luggage Rules
NCL allows two checked bags per person (max 50 lbs each). Carry-ons must fit under the seat or overhead.
Attach your luggage tags securely—use zip ties or tape. Loose tags can detach during handling.
Tip: Label your bags with your name and cabin number inside, too.
Plan for Port Traffic
Ports like Miami, New York, and Seattle get crowded. Arrive early to avoid traffic delays.
Use ride-sharing apps (Uber, Lyft) or pre-book a shuttle. Public transit is an option but can be slow.
Pro tip: Check NCL’s port arrival guide for parking and drop-off locations.
FAQs About How to Check In Norwegian Cruise Line 2026 Tips Tricks
1. When can I start checking in for my 2026 cruise?
NCL opens check-in 30 days before your sail date. For example, if you’re leaving on June 15, 2026, check-in starts on May 16, 2026.
You can complete it anytime during that window, but earlier is better for E-Time selection and document review.
2. Can I check in without a passport?
It depends on your itinerary. For U.S. closed-loop cruises (U.S. to U.S.), a birth certificate + government ID may work. For international cruises, a passport is required.
Always check NCL’s “Travel Requirements” page for your specific trip. When in doubt, bring a passport.
3. What if I miss my E-Time?
Don’t panic—but don’t be too late. If you arrive after your window, go to the late check-in line. You’ll be boarded after the E-Time guests, which could delay your access to cabins and dining.
For major delays (flight issues, traffic), contact NCL port staff immediately. They may adjust your time slot.
4. How do I change my E-Time after check-in?
Log into your NCL account and go to “Manage My Reservation.” Click “Modify Embarkation Time” to select a new slot (if available).
Changes are limited and may not be possible within 24 hours of sailing.
5. Can I check in my family members under my account?
Yes, as long as you’re the primary guest on the booking. You’ll enter their info during the check-in process.
If someone else booked for you, they’ll need to share their login or grant you access via “Guest Access” in their account.
6. What happens if my documents are rejected?
NCL will email you with the issue (e.g., blurry scan, expired ID). You’ll have a deadline to re-upload corrected versions.
If you miss the deadline, you may need to resolve it at the port—arrive early to avoid delays.
7. Is the NCL app necessary for check-in?
No, but it’s highly recommended. The app shows real-time updates, boarding passes, and port instructions. It also lets you book shore excursions and dining before boarding.
Without it, you’ll rely on printed documents and email alerts, which can be less convenient.
Final Thoughts
Mastering how to check in Norwegian Cruise Line 2026 tips tricks is your secret weapon for a stress-free start. From early document uploads to choosing the perfect E-Time, every step counts.
Remember: Preparation is key. Start 30 days out, double-check every detail, and use the NCL app to stay in the loop. With these tips, you’ll skip the lines, board faster, and spend more time enjoying your cruise.
So, what are you waiting for? Log in, upload those docs, and get ready to set sail. Your dream vacation starts the moment you check in—make it smooth, make it easy, and make it unforgettable.
Safe travels, and see you on the high seas!
“`