Featured image for how do i print luggage tags for norwegian cruise line
Image source: i.ytimg.com
Printing your Norwegian Cruise Line luggage tags is quick and easy—just log in to your online account, navigate to the “Cruise Details” section, and download the pre-filled tags. Ensure your printer settings are set to actual size and use sturdy paper or adhesive labels for durability during transit. Print, cut, and attach them before heading to the port for a hassle-free embarkation.
Key Takeaways
- Access your NCL account: Log in to download your printable luggage tags.
- Verify cruise details: Ensure your booking is confirmed before printing tags.
- Use PDF format: Print directly from the official NCL PDF file.
- Print on sturdy paper: Choose cardstock for durability during travel.
- Attach securely: Use plastic loops or adhesive strips to affix tags.
- Check tag accuracy: Confirm names, dates, and ship info match your booking.
📑 Table of Contents
- Why Printing Your Norwegian Cruise Line Luggage Tags Is a Game-Changer
- Step 1: Accessing Your Norwegian Cruise Line Online Check-In Portal
- Step 2: Downloading and Customizing Your Luggage Tags
- Step 3: Printing and Preparing Tags for Embarkation
- Step 4: Understanding Luggage Tag Colors and Embarkation Groups
- Step 5: Troubleshooting Common Luggage Tag Issues
- Final Tips for a Stress-Free Embarkation Day
Why Printing Your Norwegian Cruise Line Luggage Tags Is a Game-Changer
Embarking on a Norwegian Cruise Line (NCL) vacation is an exciting adventure, filled with anticipation of exotic destinations, gourmet dining, and unforgettable experiences. However, one often overlooked yet crucial step in the pre-cruise checklist is printing your luggage tags for Norwegian Cruise Line. These small, color-coded tags are more than just pieces of paper—they are your ticket to a stress-free embarkation day. Without them, your luggage might not reach your stateroom on time, or worse, it could be left behind at the port. By taking the time to print and attach your tags correctly, you ensure a seamless start to your vacation, allowing you to focus on relaxation and fun from the moment you step onboard.
NCL’s online check-in process has revolutionized the way passengers prepare for their cruise. Instead of waiting in long lines at the terminal, you can complete most of your paperwork—including printing luggage tags—from the comfort of your home. This not only saves time but also reduces stress, especially for families or first-time cruisers. In this guide, we’ll walk you through the step-by-step process of printing Norwegian Cruise Line luggage tags, troubleshoot common issues, and share expert tips to make the process foolproof. Whether you’re a seasoned cruiser or a first-timer, this comprehensive resource will ensure you’re fully prepared for a smooth embarkation.
Step 1: Accessing Your Norwegian Cruise Line Online Check-In Portal
Logging Into Your NCL Account
The first step to printing your luggage tags is to access your Norwegian Cruise Line online check-in portal. This portal is your central hub for all pre-cruise preparations, including passport uploads, shore excursion bookings, and, of course, luggage tag printing. Here’s how to get started:
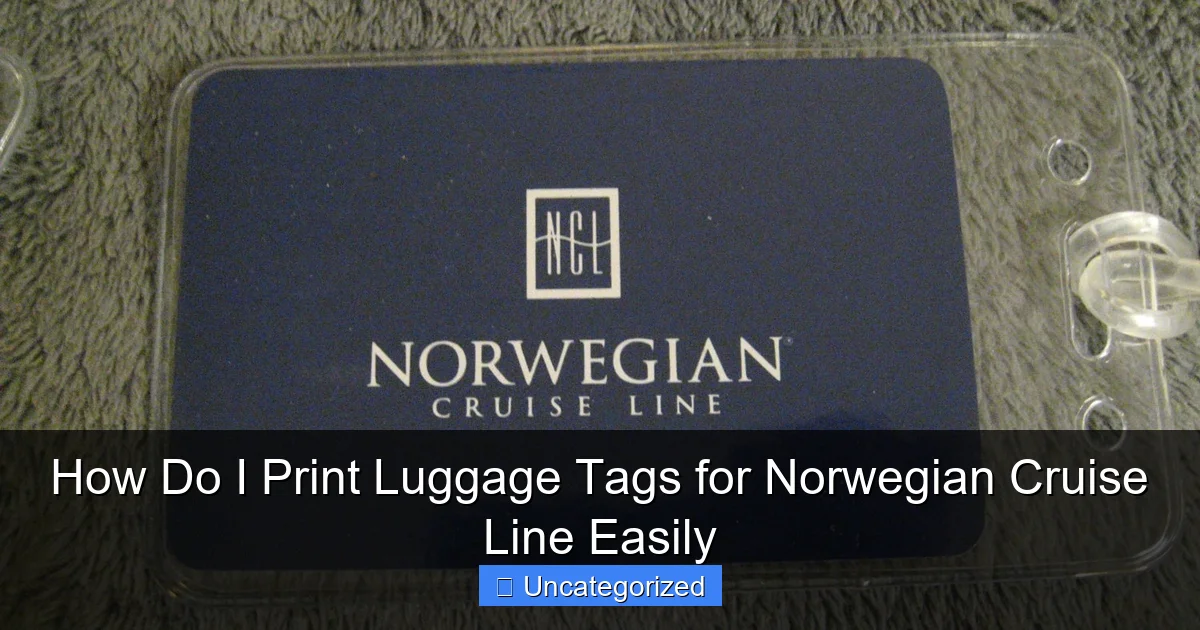
Visual guide about how do i print luggage tags for norwegian cruise line
Image source: i.etsystatic.com
- Visit the official NCL website: Go to www.ncl.com and click on the “Manage My Cruise” tab at the top of the page.
- Log in or create an account: If you booked directly through NCL, use your email address and password. If you booked through a third party (e.g., a travel agent), you’ll need to create a guest account using your booking number.
- Locate your reservation: Once logged in, find your upcoming cruise under “My Cruises.” Click on it to access the check-in dashboard.
Pro Tip: Bookmark the check-in portal page for easy access. You’ll need to revisit it multiple times before departure.
Completing Pre-Check-In Requirements
Before you can print luggage tags, NCL requires you to complete certain steps. These include:
- Uploading travel documents: Submit scans of your passport, visa (if required), and any other travel documents.
- Confirming passenger details: Double-check names, birth dates, and emergency contacts.
- Selecting dining preferences and excursions: While optional, these can impact your luggage tag color (e.g., early dining vs. late dining).
Once these steps are marked “Complete,” the system will unlock the luggage tag printing option. If you’re missing a document, the portal will display a warning, so address these early to avoid last-minute stress.
Example: A Family’s Check-In Timeline
Imagine the Smith family, a group of four, preparing for a 7-day Caribbean cruise. They start their check-in 45 days before departure. Here’s their timeline:
- Day 1: Log in, upload passports, and confirm passenger details.
- Day 3: Book shore excursions and select dining times.
- Day 5: All requirements marked “Complete.” They now have access to luggage tags.
This proactive approach ensures they’re ready to print tags well in advance, avoiding the 48-hour rush before departure.
Step 2: Downloading and Customizing Your Luggage Tags
Locating the Luggage Tag Section
After completing pre-check-in, navigate to the “Print Luggage Tags” section on your NCL dashboard. This is typically found under “Embarkation” or “Check-In.” Clicking it will generate a PDF file containing:
- Passenger names: One tag per person.
- Stateroom number: Assigned after check-in.
- Color code: Based on your embarkation group (e.g., “Blue Group” for early arrival).
- Barcode: Scanned at the port to track your luggage.
Customizing Tags for Special Needs
NCL’s system allows minor customizations to accommodate special requirements:
- Large print tags: For visually impaired passengers, select “High Visibility” in the printing settings.
- Extra tags: Families with multiple bags can print duplicates by adjusting the “Number of Tags” field.
- Language options: Tags are available in English, Spanish, and German (select your preference during check-in).
Example: The Smith family has two children under 12. They print 6 tags total (2 adults × 2 bags, 2 kids × 1 bag) and choose high-visibility print for their elderly parents.
Common Customization Mistakes to Avoid
- Printing too early: If you haven’t received your stateroom number, the tags will display “TBD.” Print again after room assignment (usually 7–14 days before departure).
- Using low-quality paper: Standard printer paper can tear or fade. Use cardstock or laminate tags for durability.
- Forgetting color codes: The tag’s color determines when your luggage is delivered. Misplaced tags can delay bag delivery.
Step 3: Printing and Preparing Tags for Embarkation
Choosing the Right Printer and Paper
For professional-looking tags, follow these guidelines:
- Printer type: Laser printers produce sharper text and barcodes than inkjet.
- Paper weight: Use 60–110 lb cardstock (e.g., Avery 8376). Avoid glossy paper, as it can smudge.
- Ink colors: Ensure black ink is fully loaded—faded barcodes may not scan at the port.
Pro Tip: Print a test page on plain paper first to verify alignment. Adjust margins in your PDF viewer if needed.
Cutting and Attaching Tags
After printing, prepare your tags:
- Cut along the dashed lines: Use scissors or a paper cutter for precision.
- Add a protective layer: Place tags in clear plastic sleeves (e.g., Avery 74471) or laminate them.
- Attach securely: Use a luggage tag holder, zip ties, or strong adhesive tape. Avoid flimsy string or rubber bands, which can break.
Example: The Smith family uses zip ties to attach laminated tags to their suitcases, backpacks, and carry-ons. They also add a secondary tag with their phone number as a backup.
Data Table: Recommended Luggage Tag Supplies
| Item | Recommended Product | Why It Matters |
|---|---|---|
| Printer | HP LaserJet Pro MFP | High-resolution barcode printing |
| Paper | Avery 8376 Cardstock | Durable, tear-resistant |
| Protectors | Avery 74471 Sleeves | Weatherproof, reusable |
| Attachments | Metal Zip Ties | Secure, won’t snap |
Step 4: Understanding Luggage Tag Colors and Embarkation Groups
How Color Codes Work
NCL uses color-coded tags to streamline luggage delivery. Each color corresponds to an embarkation group, which determines:
- When your bags are delivered: Early groups (e.g., Blue) get bags first.
- Port drop-off times: Your group’s color dictates the terminal entry window.
Common colors include:
- Blue: Early arrival (e.g., 11:00 AM–12:00 PM)
- Green: Standard arrival (e.g., 12:00–1:00 PM)
- Red: Late arrival (e.g., 1:00–2:00 PM)
Choosing Your Embarkation Group
You can often select your group during check-in, but options may be limited. Factors influencing availability:
- Stateroom location: Balcony cabins may get priority.
- Dining preference: Early dining groups often get earlier tags.
- Special needs: Mobility-impaired guests can request early groups.
Tip: If your preferred group is full, contact NCL’s Guest Services to request a change.
Example: The Smith Family’s Color Strategy
The Smiths book a balcony stateroom and select early dining. They’re assigned Blue Group tags, allowing them to drop off luggage at 11:00 AM and board the ship by noon. This gives them time to explore the ship before dinner.
Step 5: Troubleshooting Common Luggage Tag Issues
Problem: Tags Won’t Generate
If the “Print Luggage Tags” button is grayed out, check:
- Incomplete check-in: Ensure all documents are uploaded.
- System glitches: Clear your browser cache or try a different browser (e.g., Chrome instead of Safari).
- Booking issues: Contact NCL if the problem persists—your booking may need verification.
Problem: Barcode Won’t Scan
Faded or misaligned barcodes are a common issue. To fix:
- Re-print the tags: Use a laser printer and high-quality paper.
- Handwrite the stateroom number: As a backup, write the room number on the tag with a permanent marker.
- Ask for help at the port: NCL staff can re-print tags if needed.
Problem: Tags Lost or Damaged
Always bring extra tags. If you lose them:
- Re-download from the portal: Print new copies at a hotel business center or print shop.
- Use a temporary tag: Write your name, stateroom, and cruise line on paper and attach it securely.
Final Tips for a Stress-Free Embarkation Day
Packing Smart
Even with perfect tags, packing matters. Follow these rules:
- Limit checked bags: NCL allows 2 checked bags per person. Overpacking can lead to fees.
- Label carry-ons: Add a secondary tag to your personal item (e.g., backpack).
- Include a backup tag: Place a tag inside each bag with your contact info.
Port Day Checklist
On embarkation day, remember to:
- Double-check tags: Confirm colors and stateroom numbers match your check-in.
- Arrive on time: Stick to your group’s window—late arrivals may miss priority boarding.
- Keep documents handy: Have your passport, boarding pass, and tags ready for inspection.
Expert Insight: What NCL Staff Wishes You Knew
According to a former NCL port agent, “The biggest mistake passengers make is waiting until the last minute to print tags. If your printer fails or tags get damaged, you’re scrambling at the port. Print them early, bring extras, and laminate them. It’s a small step that saves hours of stress.”
Printing luggage tags for Norwegian Cruise Line is a simple yet vital task that sets the tone for your vacation. By following this guide, you’ll avoid common pitfalls, ensure your bags arrive on time, and enjoy a smoother embarkation. Remember: preparation is the key to relaxation. Now, go print those tags, pack your bags, and get ready for the cruise of a lifetime! 🚢
Frequently Asked Questions
How do I print luggage tags for Norwegian Cruise Line?
To print luggage tags for Norwegian Cruise Line, log in to your online cruise account, navigate to the “Pre-Cruise” section, and select “Print Luggage Tags.” Follow the prompts to download and print the tags on standard 8.5″ x 11″ paper or sticker paper.
Can I print Norwegian Cruise Line luggage tags at home?
Yes, you can easily print your Norwegian Cruise Line luggage tags at home using a standard printer. Ensure you use durable paper or adhesive sheets so the tags stay intact during travel.
When should I print my Norwegian Cruise Line luggage tags?
Norwegian Cruise Line typically releases luggage tags 30–60 days before departure. Print them as soon as they’re available to ensure you have them ready for check-in day.
What if I don’t see the option to print luggage tags on my account?
If the Norwegian Cruise Line luggage tags option isn’t visible, ensure your cruise is fully booked and paid. Contact NCL customer support if the issue persists—they can email the tags directly.
Do I need special paper to print cruise luggage tags?
No special paper is required, but using cardstock or adhesive labels helps the tags withstand handling. Avoid thin paper to prevent tearing during transit.
Can I reprint luggage tags if I lose them?
Yes, you can reprint your tags anytime before your cruise by logging back into your account. If you’re unable to access them, reach out to Norwegian Cruise Line for assistance.